Your first report template
In this tutorial you will learn how to create basic report template using Jaspersoft Studio and Smart Reports for JIRA. If you are familiar with Jasper Reports technology - whole tutorial should take about 10 minutes of your time.
Overview
In the big picture creating a report template for Smart Reports has two steps:
- Creating a design for your report template either in Jaspersoft Studio, iReport Designer or editing XML file in any text editor you prefer. In each case product of this step is a single XML file with jrxml extension wich stands for Jasper Reports XML file.
- Uploading mentioned file to JIRA.
Steps
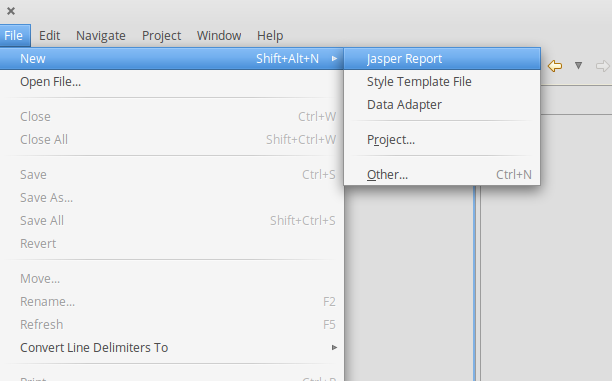
- Launch Jaspersoft Studio. Select New Jasper Report, then select Blank A4 theme. In the end - name your template. This will prepare your IDE to design a template for Smart Reports - simple and easy
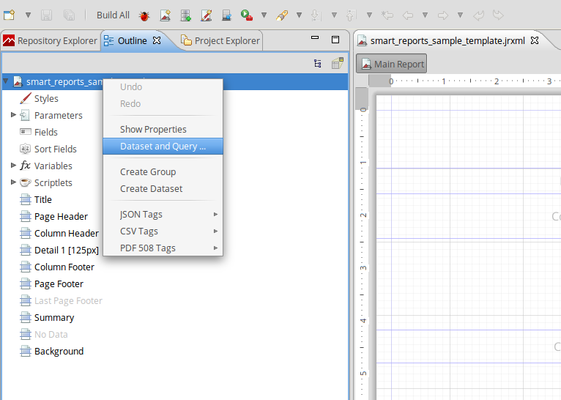
We will create report that help us for an every day start of work with JIRA. We will fire our report in the morning to have nice picture on what we should do each day. We will need for that issue key, summary and QR code which points to the URL for this specifc issue. To achieve this, first, we define a proper JQL Dataset. Right click on the root node of the navigator and choose Dataset and query.
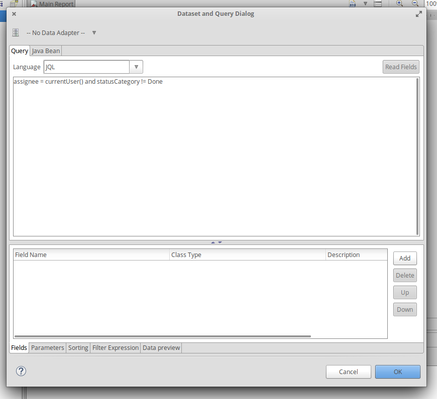
In the popup enter JQL in language input and enter the query assignee = currentUser() and statusCategory != Done in query area.
Now we define fields we want to use in our report template. For the first field - right click the fields node in navigator and choose the Create Field option. Name the field as Key and enter the implementing class java.lang.String. Enter all other needed fields: Summary with implementing class java.lang.String and URLwith implementing class java.lang.String. Key and Summary are common JIRA issue fields - you can use them in your custom template as many other fields. You can use even JIRA custom fields as well! URL is a special field - it contains URL to the issue itself.

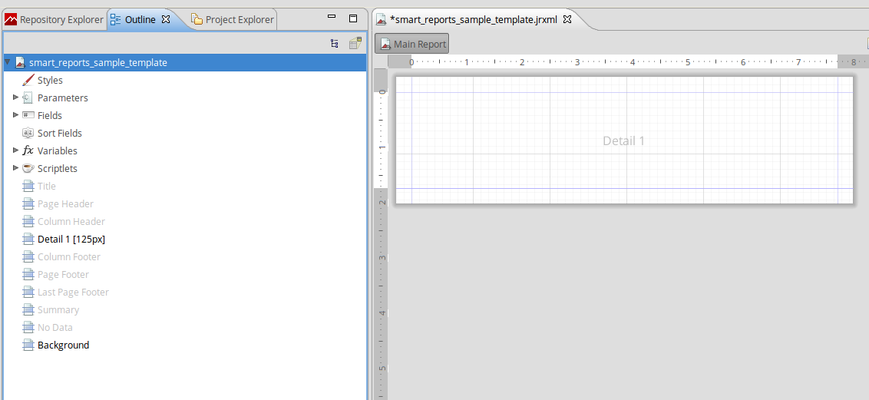
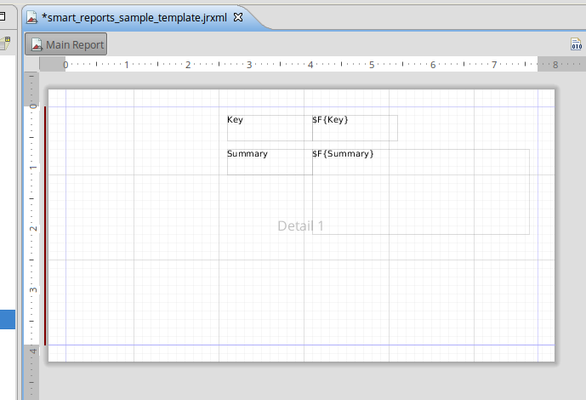
In next steps we will define layout of our template - how data we selected will be shown. Navigate to Outlineand delete nodes: Title, Page Header, Column Header, Column Footer, Page Footer and Summary - leave alone only the Detail 1 section. Result should be as followed screen
Expand Fields node in Outline and drag the Key field onto design canvas.

Drag Summary under the Key. Expand the $F{Summary} field on canvas a little bit.
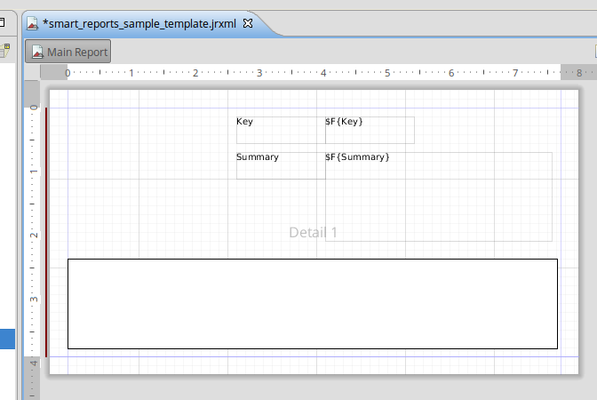
From the Palette choose Rectangle and drag as in scheenshot below.
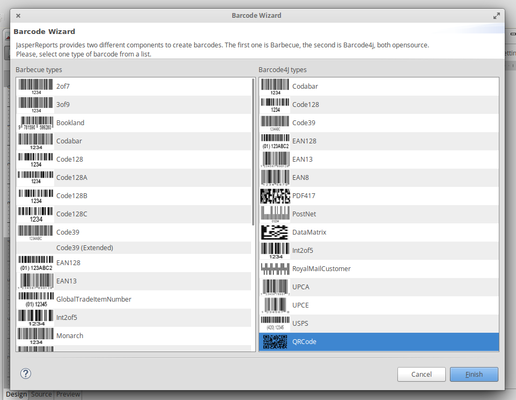
Now we will place the URL to the issue, but as a graphical QR code. Drag the Barcode element from Paletteonto Canvas. For now only Barcode4j library is supported, so choose QR code from this library. Expand QR code onto canvas.

We will feed the QR code with URL value. Choose QR code on canvas, then choose section Barcode from Properties. Fill field Code Expression with $F{URL} value.

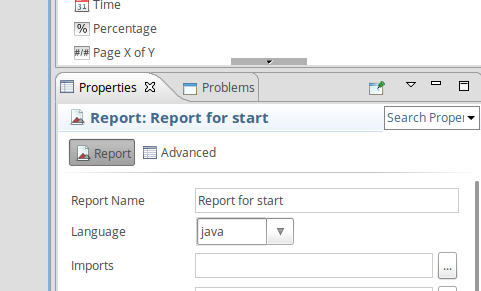
The last thing - name your report. Choose the root element from Outline and find the Report Name in its properties. Save the result. We are ready to upload our template into Smart Reports in JIRA.
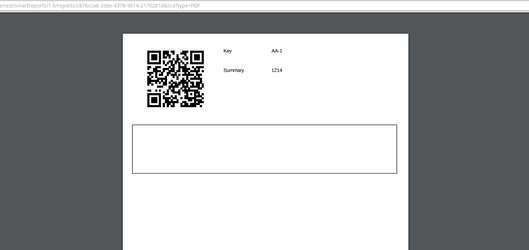
We are ready to upload our template into Smart Reports in JIRA. Go to Smart Reports managing templates page. Click the +Add new template and upload your first report template. Click on it when ready and generate your first custom smart report!
D